Recording your piano playing on record isn’t just about preserving memories, it’s about progress, reflection and sharing your talent with the world. Whether you’re a beginner aiming to track improvement or an experienced pianist compiling a portfolio, knowing how to record piano on phone, tablet or computer simply and effectively is a valuable skill.
This step-by-step guide will walk you through everything from setting up your space to sharing your final masterpiece.
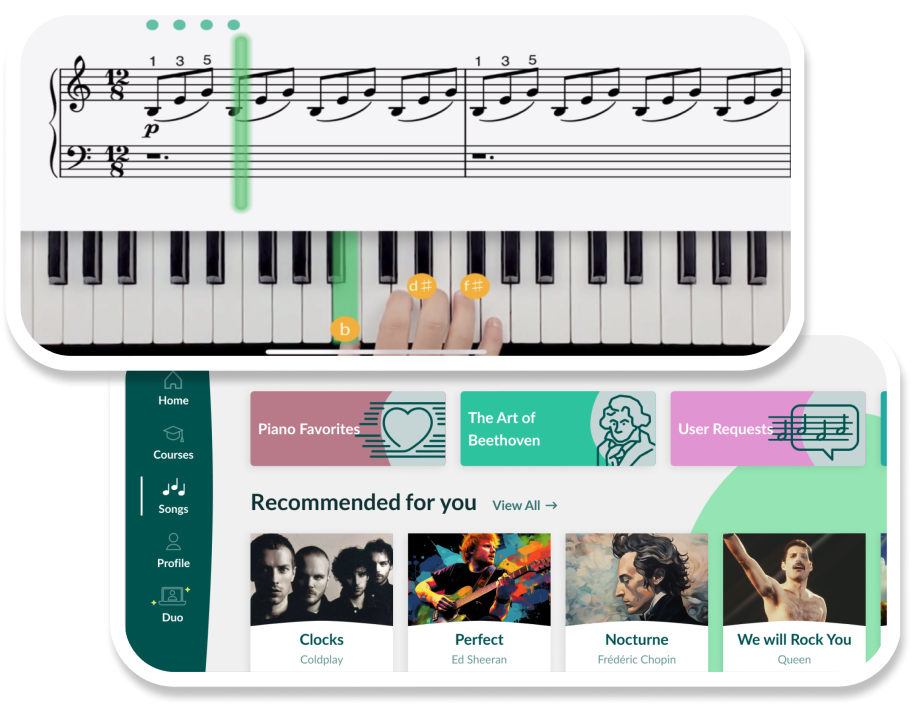
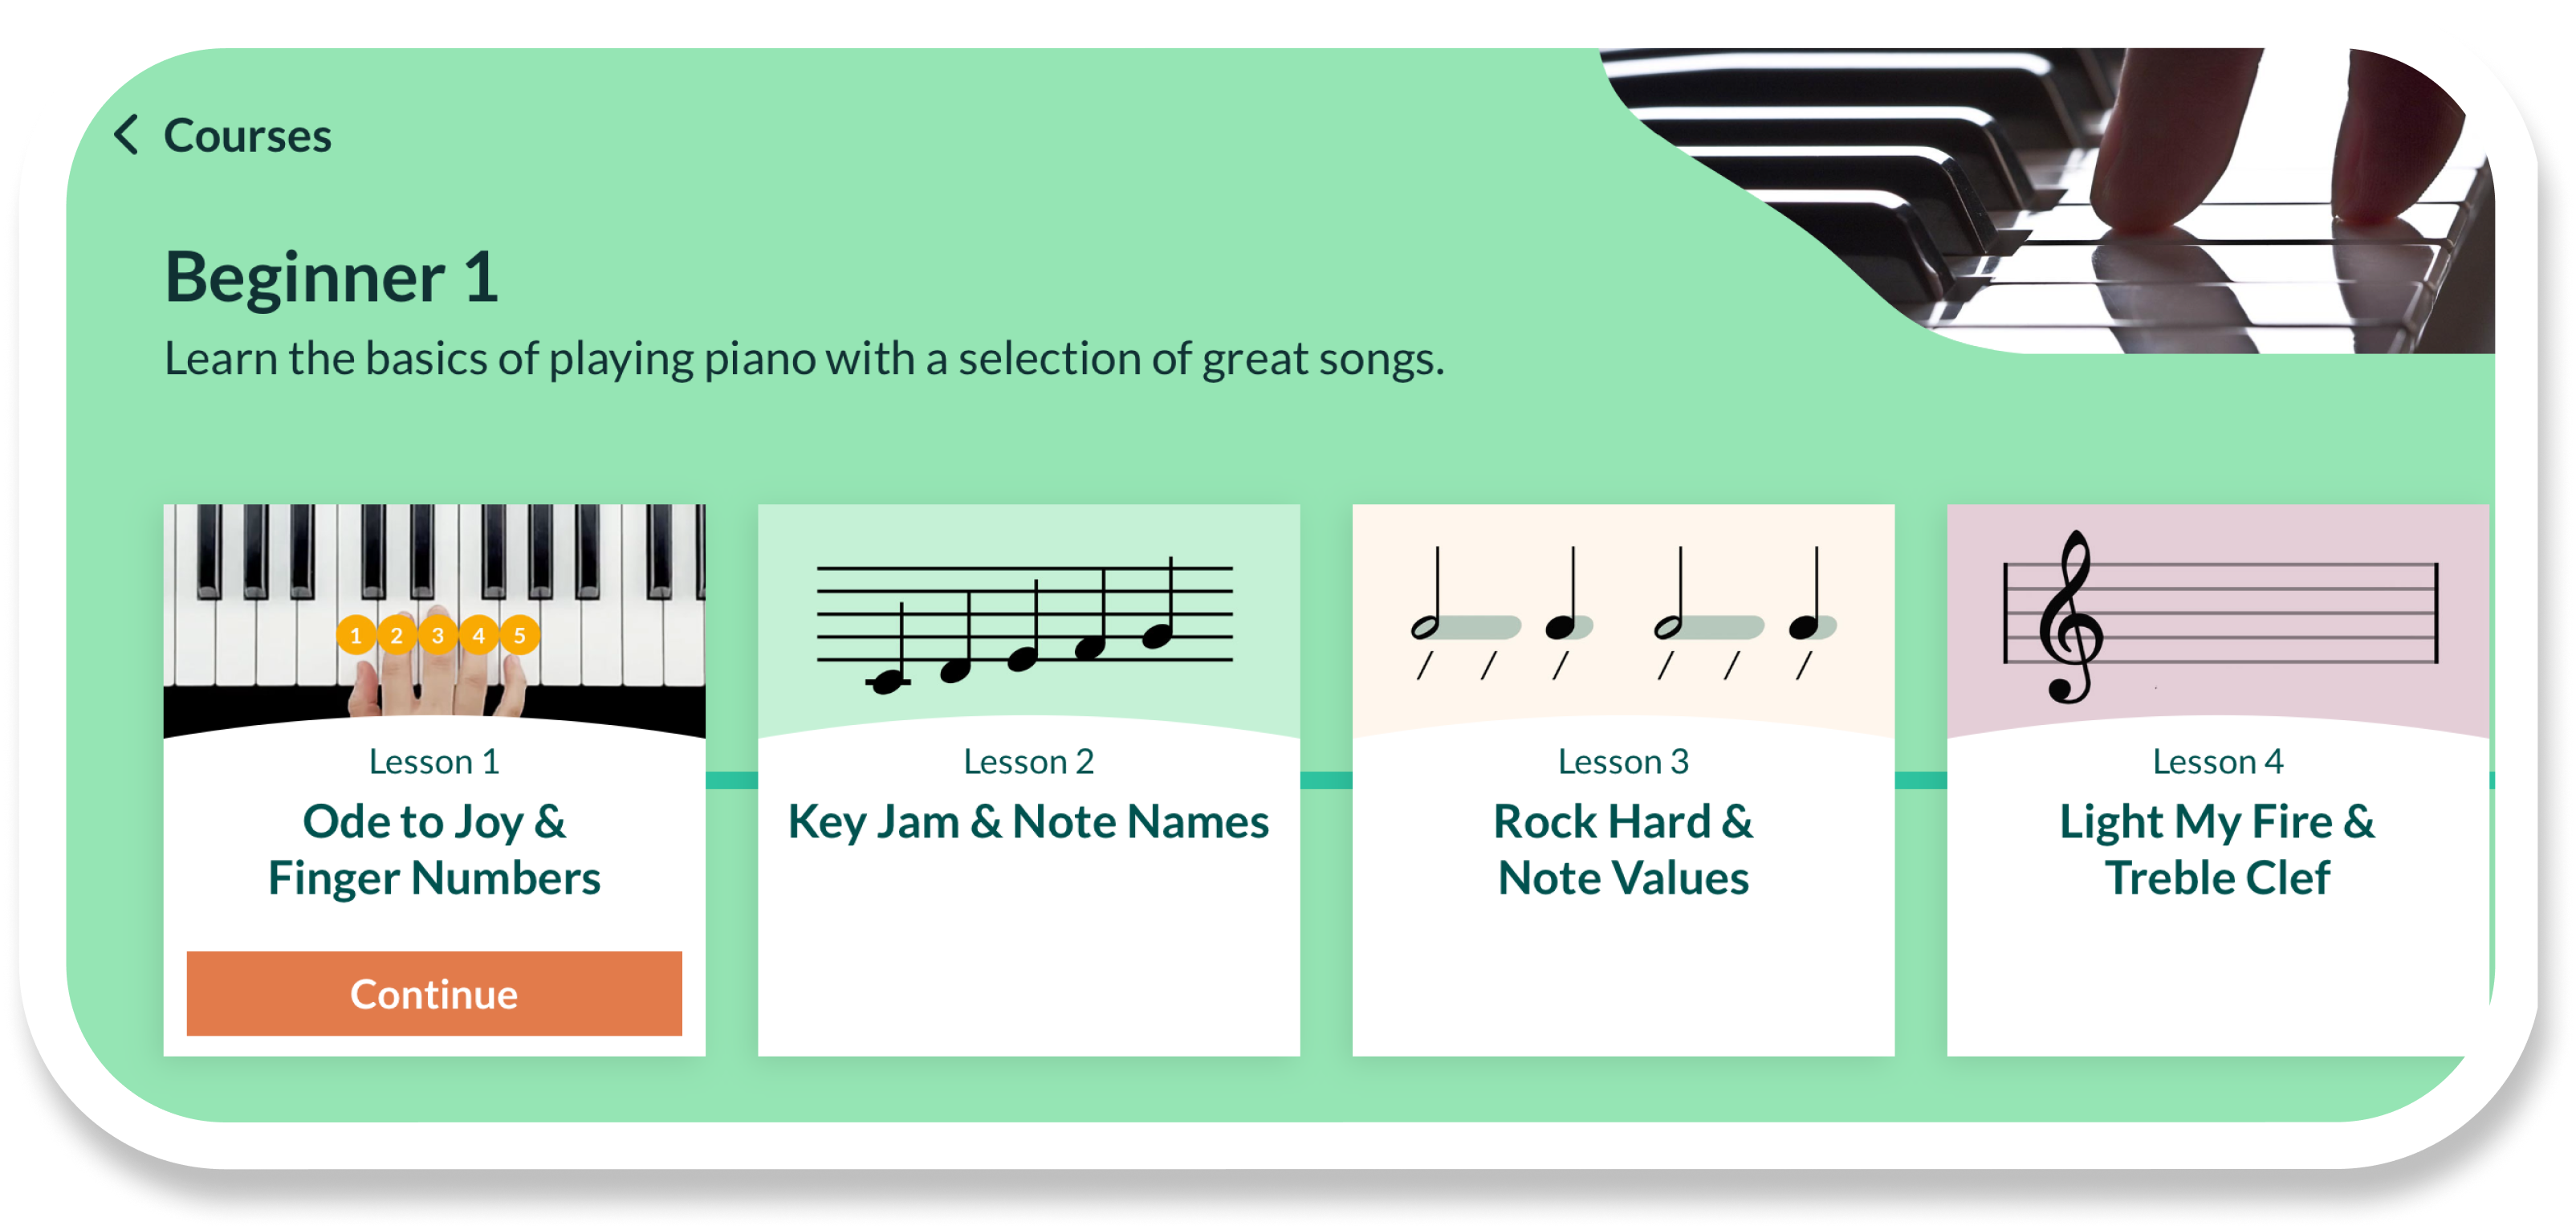
- Fall in love with the music - Learn your favorite songs, at a level suitable for you.
- Enjoy interactive piano lessons - Explore courses covering music theory, technique chords & more.
- Get real-time feedback - Skoove's feedback tells you what went well and what needs practice.
Why should you record piano playing?
Whether you’re performing, sharing your music or perfecting a tricky passage in a new piece, recording your piano playing is a great practice to incorporate into your routine. Let’s look at all the benefits you can get from recording your playing:
- Gain insight into your playing: Recording lets you step back and focus on details like tempo, dynamics, and rhythm that you might miss while playing. It provides valuable feedback to identify both strengths and areas for improvement.
- Track your progress: Think of recordings as a musical diary. They highlight your growth over time, offering motivation and a clear sense of achievement as you improve.
- Share your music: Whether connecting with other musicians on social media or preparing for auditions and competitions, recordings allow you to showcase your talent. Sharing with family and friends can also spread joy and inspire others.
- Preserve special moments: Capture performances you’re proud of to revisit later. These recordings let you relive the and accomplishment of mastering your favorite pieces.
Let’s now look at the steps to follow when you want to record piano playing.
Simple steps to record piano playing
Following a few simple steps can make recording you playing easy, efficient and rewarding and allow you to get the most out of the process. Let’s break down these 6 simple steps:
1. Choose your recording setup
Your recording setup can range from simple to professional, depending on your needs. Start by deciding between recording an acoustic piano or a digital one, as this choice influences the equipment required.
🟦 Basic setup:
Smartphone or built-in mic: Smartphones today come equipped with decent microphones, making them great for beginners. Position your phone a few feet away to capture a balanced sound.
🟩 Professional setup:
- External microphone: For better sound quality, invest in quality microphones that capture all the piano’s rich tonal nuances.
- Audio interface: Use this to connect your microphone to a computer or tablet for recording.
2. Set up your recording space
Choosing and creating the right environment for piano recording is just as important as the equipment itself. A well-thought-out recording space ensures your piano’s sound is captured in all its richness while minimizing distractions or interference.
Why acoustics matter?
The sound of your piano is shaped by the space it’s in. Rooms with hard surfaces like tiles, bare walls, or large windows can create echoes or unwanted reverb, muddying the clarity of your recording. On the other hand, overly soft spaces can absorb too much sound, making your piano feel lifeless.
What to do?
- Minimize background noise: Turn off fans, air conditioners, or anything that creates steady noise. If possible, record at a time when external noise (like traffic) is minimal.
- Reduce echoes and consider reverb: Add rugs, curtains, or cushions to control the acoustics. A balance between absorption and natural resonance is ideal.
- Experiment with mic placement: If using a microphone, try positioning it closer to the piano for a focused sound or further away for more room ambiance.
Choose the right recording software
Digital Audio Workstations (DAWs) let you record, edit, and enhance your music:
- Place a microphone above the open lid for a balanced capture of strings and resonance.
- Experiment with dual-mic setups, one near the bass strings and another near the treble.
For acoustic pianos
- Position your piano so that it faces away from walls, reducing sound reflections.
- Test different microphone placements.
For digital pianos
- Since digital pianos don’t rely on acoustics focus on minimizing external noises like key taps or ambient sound.
- Place the digital piano in a stable noise-free corner to avoid disruptions.
3. Connect your equipment
Now it’s time to put it all together. Whether you’re using a microphone, digital piano or both, connecting your devices correctly ensures smooth recording.
For digital pianos:
- Most digital pianos come with output ports (e.g. USB/ MIDI). Use these to connect to your computer or recording device.
For acoustic pianos:
- Connect the microphone(s) to an audio interface, then link the interface to your computer.
- If you are recording on a mobile device keep it plugged in so you don’t lose power part way through the perfect take.

4. Record your performance
Recording isn’t just about pressing a button and playing; it’s a blend of preparation, technique and focus. Follow these tips to ensure your session goes smoothly and captures your best performance:
- Warm-up first: Before recording, play scales or simpler pieces to get comfortable and ensure your fingers are agile.
- Choose the right piece: Start with a piece you feel confident playing. If it’s a practice session, focus on a single section rather than an entire piece.
- Plan ahead: If the piece is long or complex, decide whether you’ll record it in sections or as a single take. Recording in sections allows for more precision and less pressure.
- Set your gain/volume levels: Avoid clipping by keeping levels in the green zone. This will make sure you do not distort your recording.
- Choose your format: Record in WAV for high quality; MP3 for smaller file sizes.
- Run test recordings: Ensure everything sounds balanced and equipment works before trying your first take.
Great sound starts with proper settings. Before hitting record, fine-tune your equipment for the best results.
⏸️ During the recording
- Take a deep breath: It’s normal to feel nervous, especially if it’s your first time recording. Remind yourself that it’s okay to make mistakes; you can always re-record.
- Focus on consistency: Keep your tempo steady and maintain control over dynamics and expression. Imagine you’re performing for a live audience.
Capture multiple takes
Don’t be afraid to record the same piece multiple times. Each take allows you to refine different aspects, whether it’s timing, dynamics or emotional expression. Once you’re done, you can pick the best version or even combine the best sections from different takes during editing.
5. Edit and develop your recording
Once you’ve captured your performance, it’s time to polish it. Editing allows you to refine and enhance your recording, making it sound professional.
Basic editing tasks are:
- Cut out mistakes or pauses.
- Adjust volume levels for consistency.
- Add effects like reverb to enhance the quality of the recording.
Simple editing tools like Audacity or those found in voice note apps can make this process beginner friendly. Pairing this with Skoove can also help. Use our app to pinpoint areas needing improvement and re-record if necessary.
6. Share and save your recording
With your masterpiece complete, it’s time to share and preserve it.
1️⃣ Sharing platforms:
- Upload to YouTube or Instagram to showcase your talent.
- Share with your piano teacher for feedback.
2️⃣ Saving tips:
- Store recordings in cloud platforms like Google Drive for easy access.
- Organize files with proper labels for future reference.
💡 Tips for success
Recording your piano playing can feel overwhelming at first, especially when you’re aiming for that perfect take. Here are some tried-and-true tips to ensure a smooth and successful recording experience.
- Practice thoroughly before recording: Mastering the art of piano practice is key. Spend time perfecting tricky passages so that your performance feels natural and fluid when it’s time to record.
- Start simple: Use basic equipment like a smartphone or laptop mic if you’re new to recording. Focus on clean playing and minimal background noise before upgrading your gear.
- Do a quick test recording: Check your sound levels, mic placement, and ambient noise with a short test recording. This helps you spot potential issues early and adjust accordingly.
- Be patient with yourself: Recording can feel stressful but remember it’s okay to make mistakes and redo takes. Take breaks if you start to feel frustrated.
- Focus on expression, not perfection: A technically perfect recording won’t resonate if it lacks emotion. Prioritize telling the story of the piece and conveying its mood.
- Keep your piano and gear in good condition: Ensure your acoustic piano is tuned and your digital setup and piano accessories are functioning properly. Good maintenance can drastically improve recording quality.
- Reflect and learn from your recordings: Listen critically but constructively to your playback. Use the insights to refine your playing and prepare even better for future recordings.
Conclusion
By capturing your performances, you gain valuable insights, track your progress, and create opportunities to share your talent with others. Whether you’re preserving special moments or polishing pieces for auditions, recording helps you improve, and celebrate your musical journey.
With tools like Skoove to guide your learning and the simple steps outlined here, you’re ready to take the leap into recording with confidence. Embrace the process, let your creativity shine, and watch your piano skills soar.
Author of this blog post:
Susana Pérez Posada

With over seven years of piano education and a deep passion for music therapy, Susana brings a unique blend of expertise to Skoove. A graduate in Music Therapy from SRH Hochschule Heidelberg and an experienced classical pianist from Universidad EAFIT, she infuses her teaching with a holistic approach that transcends traditional piano lessons. Susana’s writings for Skoove combine her rich musical knowledge with engaging storytelling, enriching the learning experience for pianists of all levels. Away from the piano, she loves exploring new places and immersing herself in a good book, believing these diverse experiences enhance her creative teaching style.
Published by Lydia Ogn from the Skoove team


